


Photography has become more and more accessible to people with gear getting easier to use and less and less expensive each year. With this shift, we have see such an influx of people running small businesses selling products they’ve made and needing to showcase those products to be able to sell them.
While even 5 or 10 years ago, this meant outsourcing your photography, which is expensive and can be hard on a small businesses budget. But now, with the cost of gear lowering and the quality of mobile photography soaring, it’s something that people can do themselves.
But where do you start? It’s easy to get frustrated with the quality of the images you are creating when you don’t know much about photography. These images need to impress to do the job of selling your products, so take a look at these photography tips!
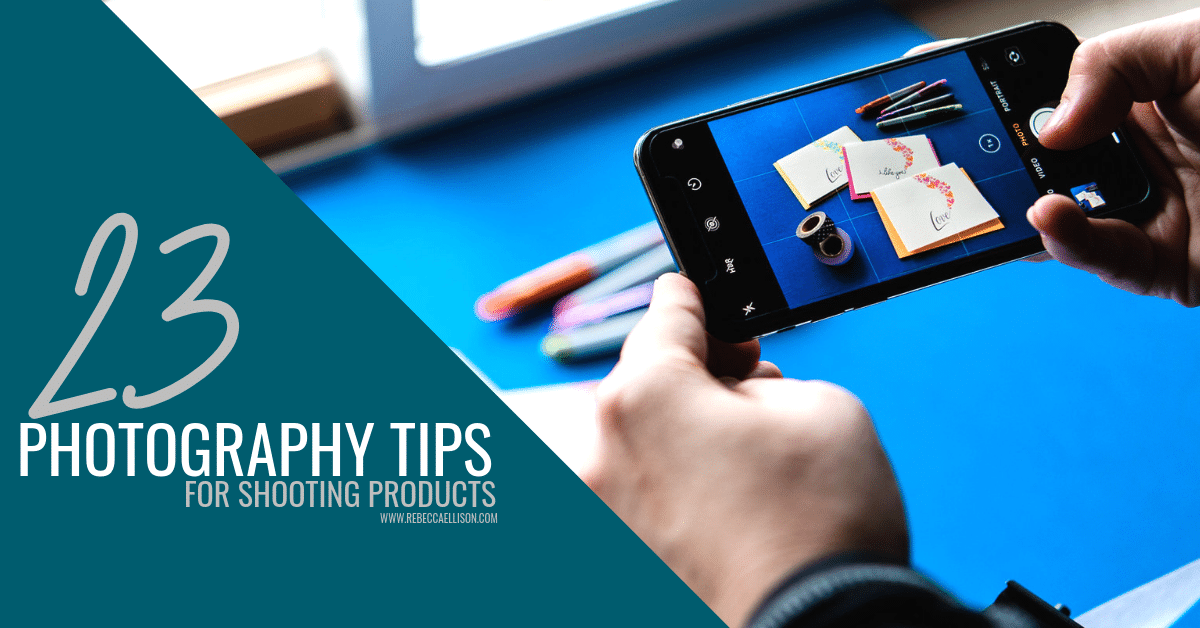
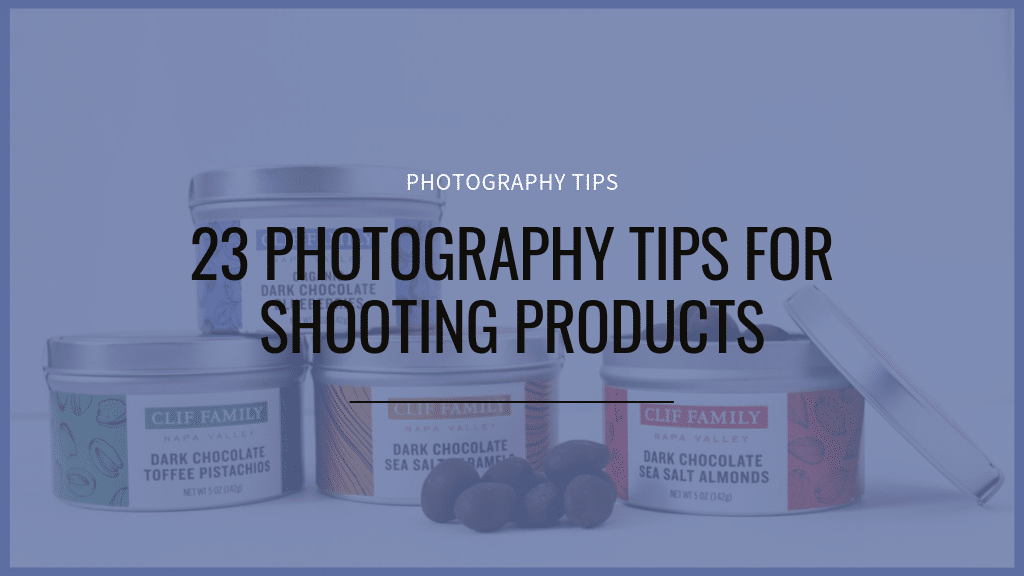
23 Photography Tips for Shooting Products
Show the entire product vs an artistic angle.
I see people trying to get all creative with their product photos, but you are doing a disservice to your customer and impacting your sales if you are not showing the actual product as it is. There is a time for creative artsy shots that convey a mood, but your product photo should not be that moment. Make sure all the aspects of the product that the customer will need to know about are shown as best they can be. If you can’t do that in one photo, then use multiple. Make the image pretty with light, but useful to selling the product.
Keep your editing simple.
It’s super trendy to slap a filter on an image these days and post it on social, but be wary of filters that change the look and feel of an image, especially filters that greatly affect the color of the image. People trust that what they are seeing online is representative of what will arrive in the mail, but if the filter you put on the photo changes the color of the item, you can end up with upset customers.
Shoot a lot. While you learn you will make a lot of mistakes.
Mistakes are okay. The joy of digital is that you are not paying for every click like back in the film days. . Take your time, think about your image and composition, take multiple version and you’ll get the right image. The worst thing you can do is take the image quickly and hope for the best and then try and “fix” it later. Do it right the first time and not only do you save time later, but you will sell more because your image is better.
Be aware of the shadow your body creates over/on the scene.
When using natural light, the light can bounce around the room, and sometimes we are impacting the image with our own shadows and don’t notice it. You want to make sure that your body is not causing a shadow in the image. Even if it is a super faint shadow to our eye, you want to move so that there is more light in the scene.
Hold the camera steady to avoid camera shake.
When shooting in low light, the camera’s shutter speed has to slow down to get the correct exposure. It needs more time to let light in since there is less light available. What that also means is that it is harder in low light to get a clear crisp focused image if you are hand holding your camera. If you are getting shaky images you need to either use more light in your scene, or put your camera on a tripod. Then once on the tripod, use the timer setting to take the photos so that the movement of the shutter button doesn’t also create camera shake.
Take a moment to think about your image and frame the photo before taking the shot.
This is one of my favorite tips that will make your photography better. Stop, take a breath and think about that image you are creating. It’s not a snapshot. Be intentional and make sure it looks exactly like you want it to before you hit that shutter button! This simple change will make a huge difference on the look of your images.
[convertkit form=874426]
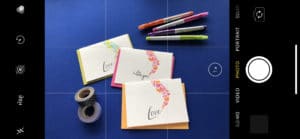
Style the image with other similar items to your product.
If you are showing off a set of pens you are selling, add in papers and notebooks and other inspiration of what people would use with the pens. Creates a story in the image with the other things you show. Your product should be the focus of the image, but by adding elements that help convey how you’d use it, what you’d use it with or even what ingredients make up the product, you can share more of a story that connects with people.
Change your perspective on your image. Try from overhead, shooting into and 3/4 angle.
The smallest change to the perspective of how you are photographing the scene can make a big difference in how the image looks and what the perception of the image is.
Crop thinking about your final output.
Is this image needing to be a square for Instagram a vertical for Pinterest or your website, or a horizontal for Facebook. Shoot with enough room to crop for the different needs, or shoot multiple images with the end use in mind.

Only crop into product intentionally.
Leave space for the edge of the product. If you crop into one side, crop in on the kitty corner side to match, otherwise it will look like a mistake. My general rule of thumb is if you crop into the product or any of the styling elements, make sure you are mimicking that crop on the opposite side of the image.
Look at this image on the left where all the props in the image are in the image except the top of the postcards are cropped out. This type of crop looks like a mistake. Where if we had gotten closer and cropped into the handkerchief on the bottom it would then match the postcard being cropped in and would no longer look like a mistake.
Inspire yourself ahead of time
Create a inspiration collection on Instagram or Pinterest of product images, styling and lighting that you are drawn to. Look at these collections before you start shooting to get inspiration for your own image. Don’t copy the image as that is wrong, but use it to inspire you. Maybe it’s the angle, the crop, the styling or the colors that inspire you.

Use Height.
Make use of different height levels to add depth and interest to the image. If you are shooting down and into an image, use flowers or stacks of items to add depth to the image.
Shoot in ample light.
This is so your ISO can be low. The lower the ISO number the cleaner and less noisy the image, which will sell better.
Avoid mixed lighting
If using window light, turn off all other lights in the room so that color is accurate
Use the rule of thirds
This is the simplest way of understanding composition. Visually cut the image in thirds both horizontally and vertically and put the important aspects of the image aligned with the intersection of the lines.
Learn exposure compensation.
This is so you can brighten or darken the image if the camera doesn’t properly expose for you.
Change up your backgrounds.
Don’t opt for white unless you can make the image pure white as it will look muddy online. Use a styling board, or make some easily with a board and contact paper. Here is a post about how to make your own styling board
Use a longer lens.
This distinguishes the background from the subject. The longer your lens, the farther away you have to be to get the whole scene in the image, but the compression of the lens will usually make the image more appealing. If you have a dual lens iPhone, then use the 2x option.
 Utilize fill cards.
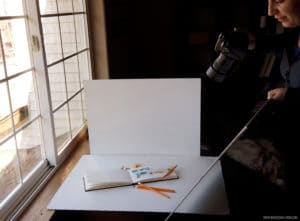 Utilize fill cards.
Put fill card on the opposite side of your light source to bounce light back into your scene and lighten the shadows.
Perfect your lighting and style before investing in an SLR.
The learning curve of the SLR is steep. The use of an SLR will absolutely elevate the quality of your images, but only if you actually know how to use it. Once you’ve hit your limit on what you can do with your mobile device, then buy and SLR and take an online course to learn how to use it best.
Take detail photos.
Use a closeup or macro lens to show the details of the product. Use light to showcase the texture of what your selling to enhance the appeal.
Never use the built in flash.
No matter if you are using a mobile device or an SLR. The built in or pop up flash is situated at a horrible place to give a high quality image.
Use correct White Balance
Make sure the white balance is showing the product with the correct color. It’s important that the product looks as close as it can to what it will look like when sold. Tweak the white balance to make sure it looks as accurate as possible. If shooting RAW, the use of a grey card will make your life much easier here as it allows you to set the white balance correctly during the editing process.
Learn how to take your images to the next level easily at www.iphonephotographyfieldguide.com


The comments +