


When was the last time you showed your face in your feed?
So you hear it from online experts all the time.
“Show your face in your feed”
“Show your face in your feed”
“Show your face in your feed”
They make it sound so easy, but what if you don’t have an “Instagram husband” or just plain don’t like getting your photos taken?
I get you. People make it seem so easy, but let’s be real, it isn’t always that way.
Being in the online space evens the playing field in so many ways for businesses. Everyone can open a shop or service, but the thing that is still needed is the connection. The feeling of knowing who you are working with and trusting they have your best in mind.
Showing your face is the way to jump out of that sea of options online and give people the chance to really connect with you. This is why it’s important.
This is why you look at your analytics and see that the pics with your face in them are usually the highest in engagement.
But that doesn’t change the fact that it’s not easy to jump in front of the camera and get those photos.
It can be done, but I do want to clear some things up.
These online experts have a hidden gem in their pocket that lets them have great content all the time. They have one of the following:
- They have that “Instagram husband” or are a photographer themselves.
Or
- They are successful enough to be hiring a photographer for content.
And
- They have a re-purposing strategy knowing that their images don’t have to be one and done.
- They batch
And I’m going to help you with some simple ways that you can get out in front of that camera and start putting your face on the feed.
If you want an in depth guide on how to pose for your body – check out my good friend’s Posing Bible. It’s a great guide to posing no matter how uncomfortable you feel in front of the camera! (affiliate link)

Tip 1- Start with a selfie

If you are really just beginning to be open to hopping in front of the camera and put your face out there, it’s going to be a little scary.
Everyone feels that. It’s okay. Understand that you are not alone. Most of us feel a little uncomfortable by putting our face out there so much, but we are still doing it, and so can you!
So start simple. Find a window that has filtered light coming through (which just means it’s not direct sunshine).

Face that window and turn your selfie camera on. Make sure your camera arm is not causing a shadow on your face or your body. If it is, change position a little until the shadow is gone.
Lift the camera so that the camera lens itself is 1-3 inches higher than your eye.
Before you click the button, look at what is in the background of the image. If there is something distracting (like clothes sitting on your couch or a messy desk) either clean up the mess or move your position until that mess is out of the frame.
Then get ready to take the photo.
You’ll look at the dot above the screen, that’s the lens when you take the photo and will make the viewer feel like you are looking at them and not at a screen 🙂

Giggle a little bit to yourself so that your smile looks authentic and the happiness spreads to your eyes as well as your mouth!
Then click that shutter button 3-10 times.
Once you’ve taken those couple of images. Review them.
Do you like what you see?
I caution you against looking at the image and looking directly for the one thing about your face/body that you don’t like.
Trust me, friend, you are the ONLY one who is going to pinpoint on that. Everyone else is going to see you smiling and looking approachable. Looking like someone that they want to do business with!
If you don’t yet like what you see, then turn that camera back on and try again!
This is the magic of digital, you can keep taking photos until you like what you see and it doesn’t cost you a dime!
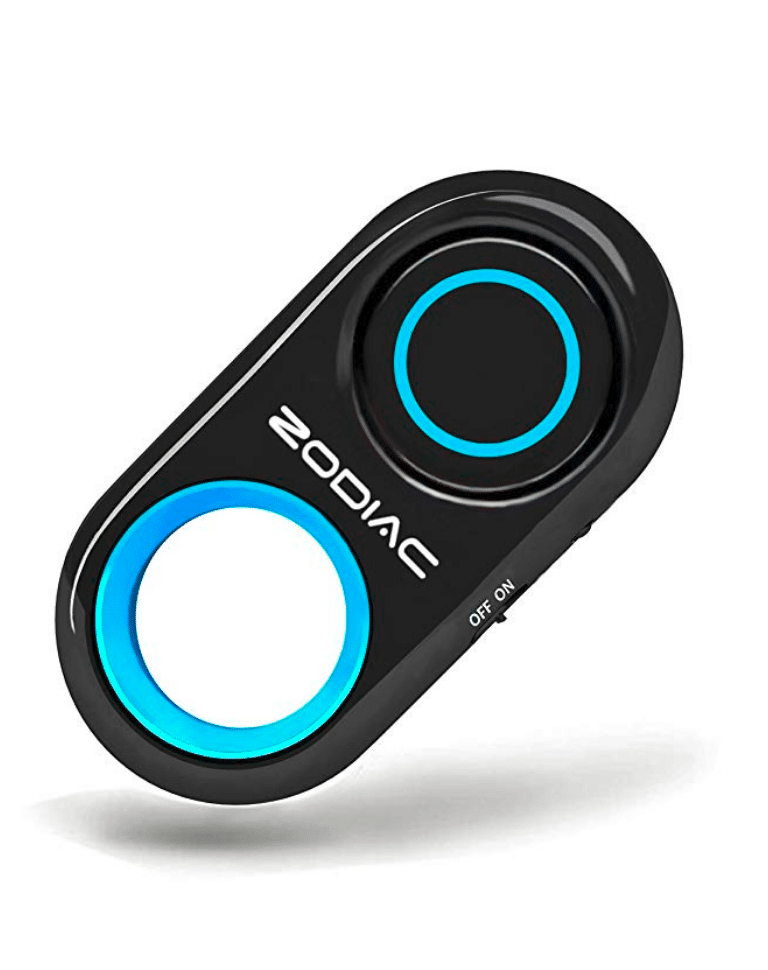
Tip 2 – Get a Tripod and a Remote
You want to know how people who don’t hire a photographer and don’t have an Instagram husband succeed at this?
It’s called a tripod and remote and taking a lot of photos.
Especially since you’ll be taking photos and then looking and reviewing them afterward, you should be taking a lot of photos.
Like 10-30 or more. The more you do this the better you’ll get, but you’ll always end up taking a lot of photos because that’s how this works!
Don’t feel like you are doing it wrong because you had to take 20 images to get the 1 you like. This is NORMAL! You are doing it right!
The key is just to go through after you’ve found the image you love and delete all the bad ones! That’s an important step to keep your camera roll less intimidating!

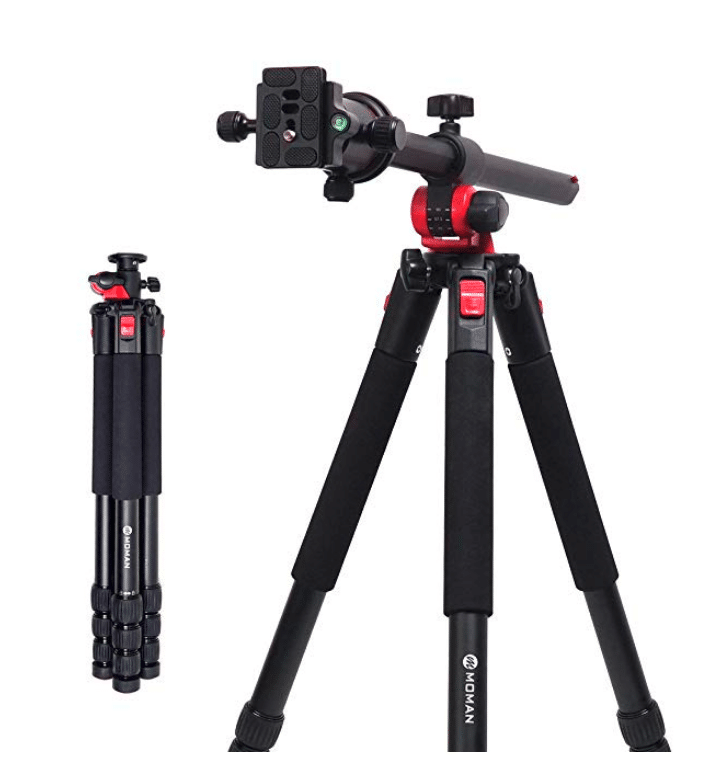
Okay, so how do you go about this. Get a tripod that extends to at least how tall you are. Many of the super cheap tripods only go up to a lower level like 50”. This won’t work when you need to take full-body images of yourself.
Shorter tripods will mean the camera is looking at you from a lower angle. This will give an unpleasant multiple chin effect that no one wants! Make sure you look for a tripod that has the ability to extend at least as tall as you are.
A tripod, like this one, is $29. This will work great for anyone 5’9” and under. Then you need to purchase the mount to make your smartphone connect to it, it’s $8.
In this situation, I suggest taking the photo with the main camera vs the selfie cam.
This may mean you have a bit more troubleshooting and adjusting before the photo is aligned the way you want. But the quality of the main back camera is almost twice the front-facing camera on any of the smartphones.
This matters if you plan on using the image anywhere other than a quick IG post. Your photo quality will be TONS better using the main back camera so go that route!
And my suggestion is always to attempt to create the highest quality option. If you take the time to create the image, do it well right? This way you can use the image again and again!

Now, you are going to set up the tripod and camera by a window so that you (as the subject) will be facing the window.
This is the easiest way to ensure the light looks great with minimal work on your part.
You’ll be using the remote trigger to trigger the camera, so think about where your hand that holds the trigger will be. You don’t want to see the trigger in the photo if possible so plan on how to hide it.
One great way is to use the toe of your foot to press the trigger.
Or you can set the timer on your camera. Use the trigger to start the timer and then drop the trigger so that you don’t see it in the frame!
Take 1 or 2 images, and then check the image to make sure you are in the right placement and it looks good. Don’t move the camera from where it is so you can ensure you can get the same results. Once you know the overall setup looks good, then hop back in there and take a bunch of photos.
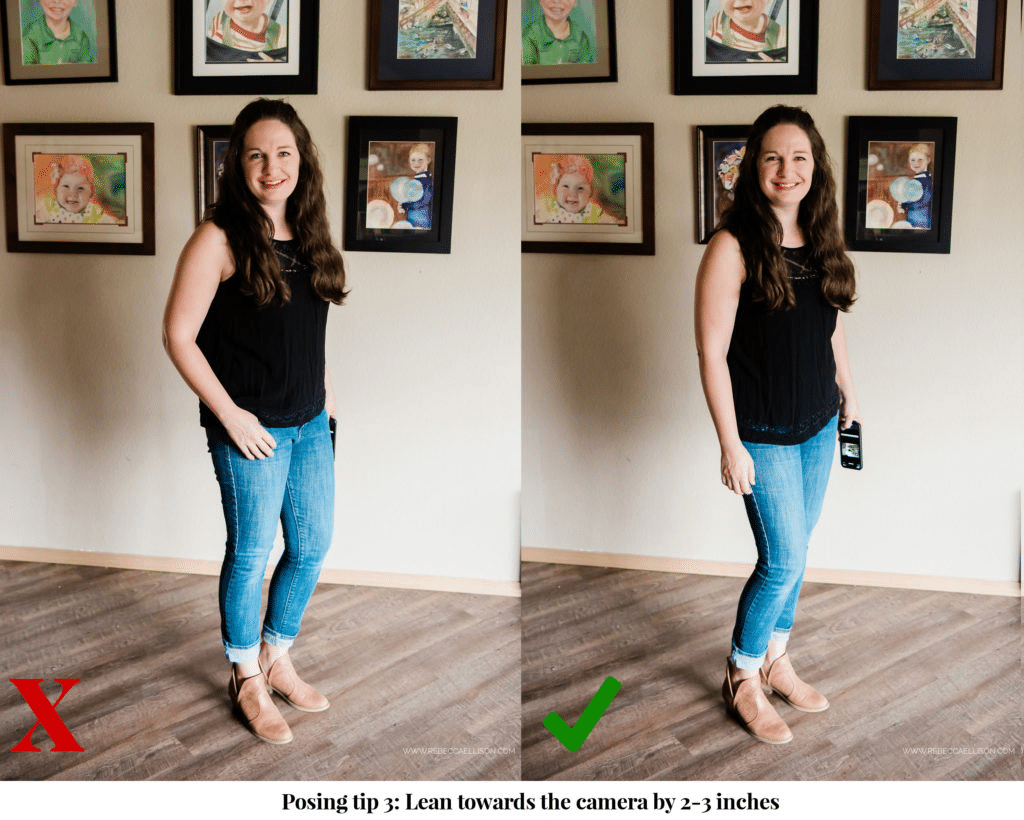
The key to variety is to move a little bit after every couple of images. Lean towards the camera by 1 or 2 inches (not Kardashian style, just a tiny bit) helps a ton in making sure you look the best in the photos! Check out this post I did about posing to find some tips to help you.
The key here is to take a bunch of photos and trust the process.
Believe in yourself and giggle/laugh/chuckle though the whole thing as this way your expression will be relaxed and inviting vs forced and posed.
Take a bunch of images and then review and find a handful you like!
For bonus points after you find the images that you like, go and change your shirt, and pop back in to take even more photos in the same setup.
Now that you’ve changed, you just created a whole new image to use that will feel completely new!
[convertkit form=5167944]


The comments +