


Everyone is attached to their phones/tablets/laptops these days, many times the first impression someone has of your business is the photos you put out to showcase it.
Now professional images are always the best option, but sometimes you need photos now now now.
Gotta love the need for immediacy of everything these days. So you should learn how to take good photos with your iphone so that you can create quality images on the fly!
Top 6 tips on how to take professional looking photos on your iPhone


1) Follow the rule of thirds.
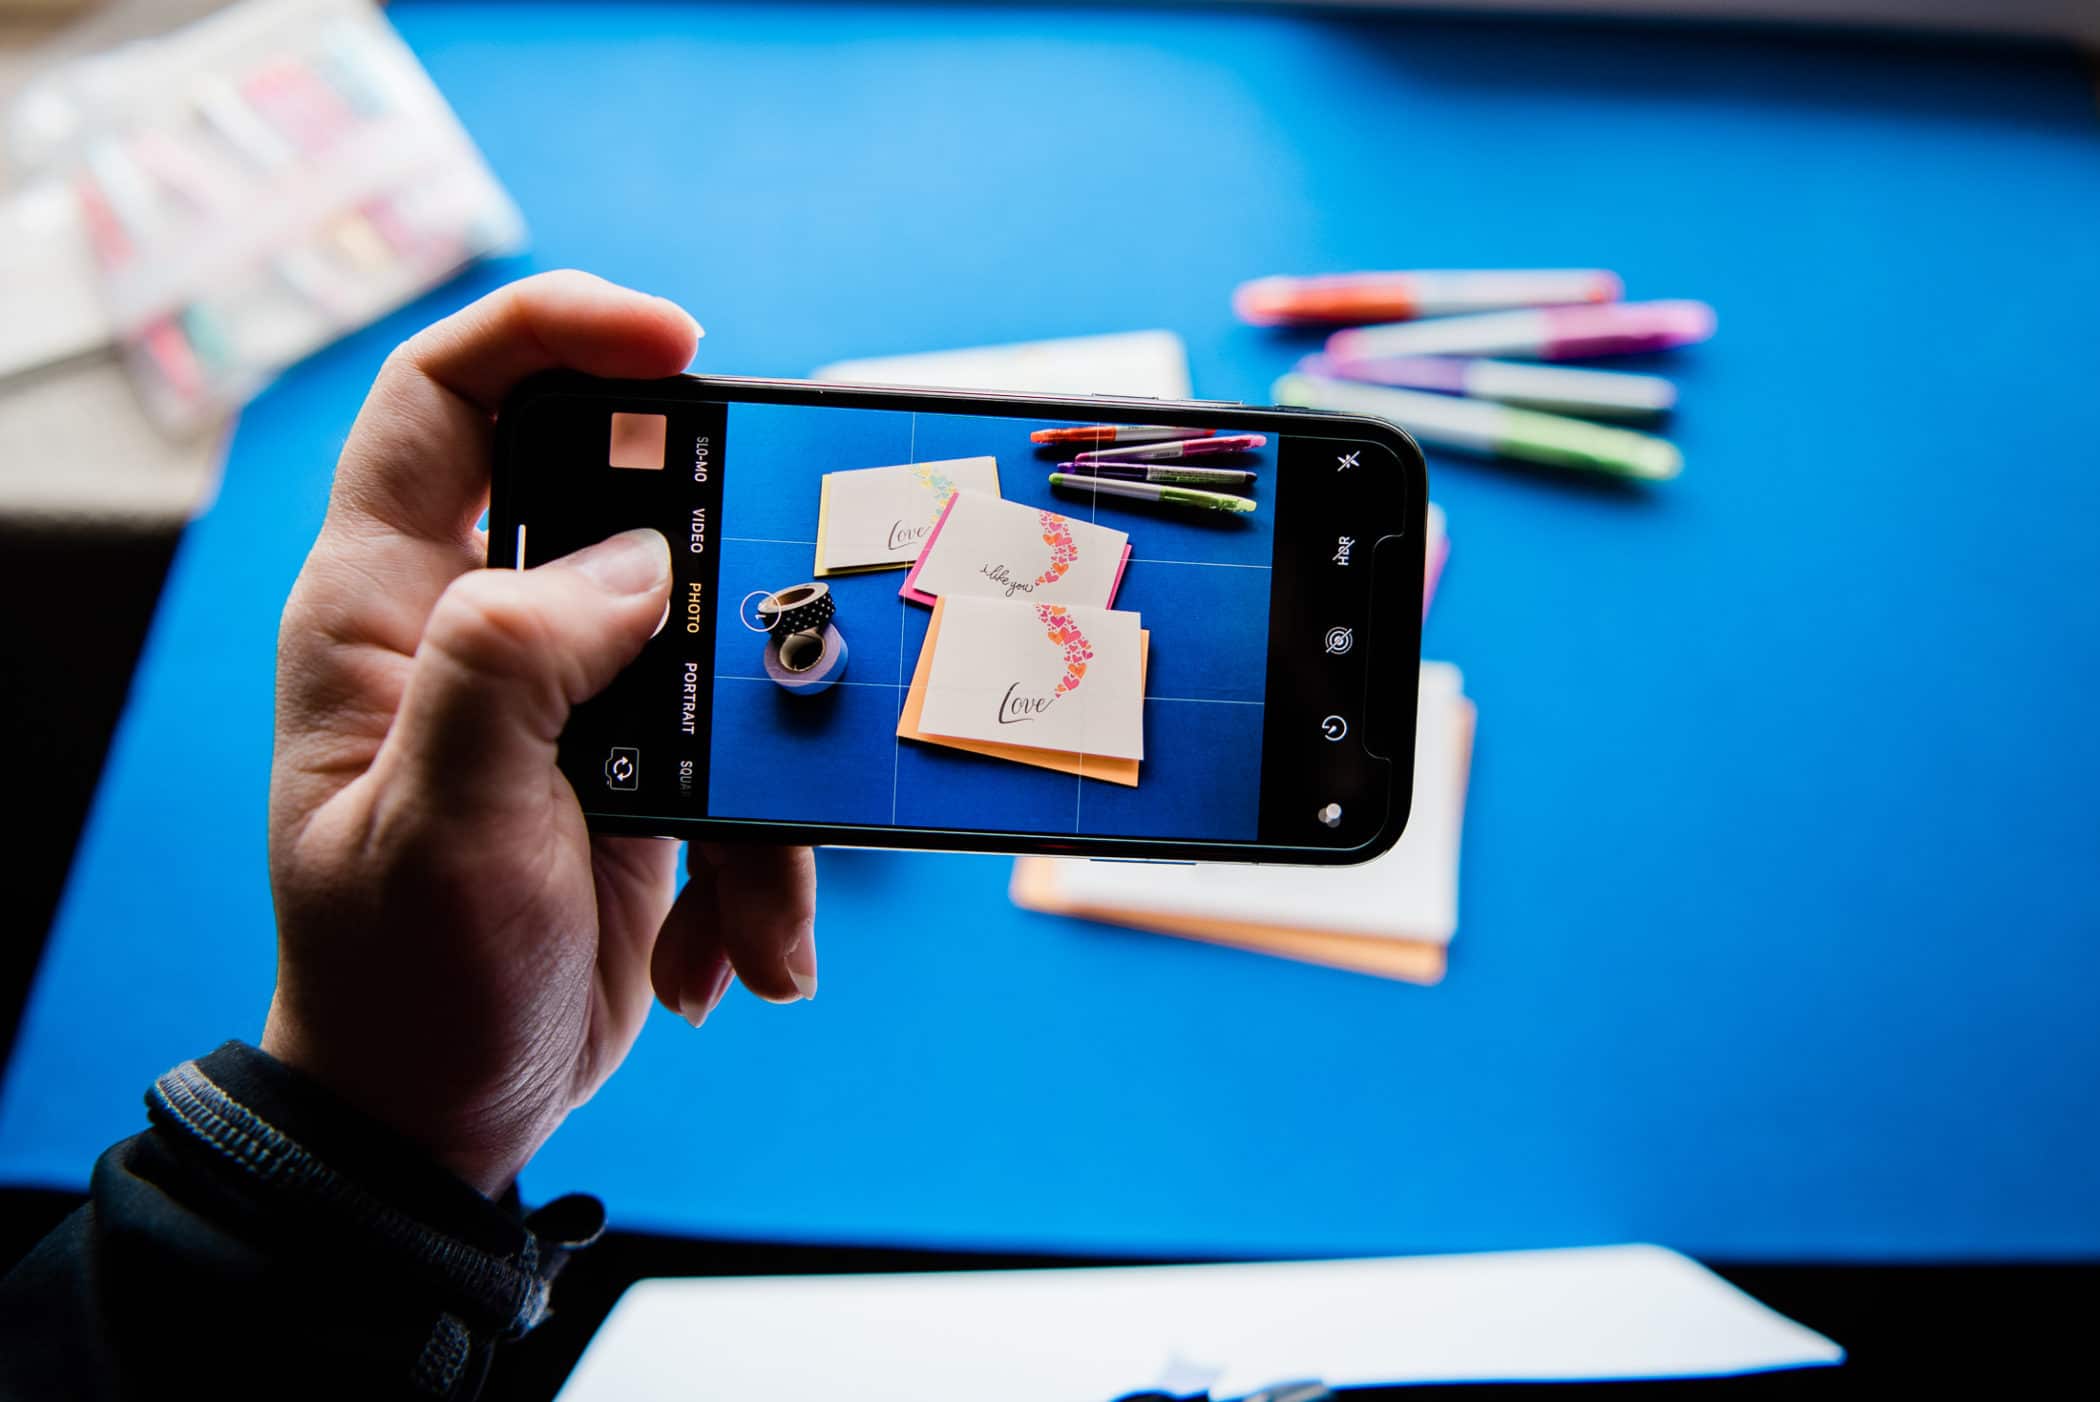
For compelling composition, there is something called the rule of thirds that most good photographs follow.
You can turn on the “grid” setting in the settings of the phone and it will cut the frame in thirds horizontally and vertically.
Make sure the point of interest of your photo is in or near one of the 4 places the lines intersect for good composition.
*note* the rule of thirds will look different in the frame if you are shooting the normal aspect ratio of 4:3 vs the Instagram 1:1 square format. Either way the rule of thirds apply
2) Avoid the zoom and flash.
The zoom on your phone isn’t actually a zoom, it’s a digital zoom which effectively means you are pre cropping your photo while also lowering your quality drastically.
Avoid it.
If you need to be closer, use your feet to zoom 😃
The flash is also a last choice.
Moving your light source to a different angle from your camera lens is key #1 in photography.
And the light on your iPhone almost could not be closer than it is to the lens.
The images will be flat and boring with flash so avoid it!
3) Use a third Party App for good color and features.
Your iPhone takes decent photos with the native app, but there are some really great options for third party apps where you can get more professional looking results at the press of a button.
Consistency is key when taking photos for connection with your brand, and using too many filters or gimmicks may look good today, but in a couple months or a year, you’ll regret being too “filtered” in your look.
My current favorite third party app is called Filmborn.
You get a lot of control with the app in exposure and settings, and the app is meant to emulate the look of film (it gives you 3 different film preset options) .
So if you choose a preset and stick with it (this is the key!) your images will be consistent and will look good and real (no crazy coloring) and you’ll be able to use the same images again through the year.
These photos above were all taken with an iPhone 6. With good light, or added light, you can get remarkable photos with a smart phone!

*one thing I’ve noticed with the Filmborn app is that it takes a little bit to record the image, so don’t close the app right after you take the photos, as they may not be done processing*
4) Control the focus and exposure.
When in the native camera app (or the film touch the screen to where you want the focus to be and the camera will focus and expose for the area you selected.
You can control where the focus is and what the camera pays attention to for exposure (how bright) the image is.
If you hold down your finger, it will lock the focus and the exposure.
This brings the attention to what you want in your photo.
5) Burst Mode

If you are not used to taking photos, you may not have the best timing for expression or styling.
So take a lot of photos (use burst mode if photographing movement or people) and go through and edit out the images afterwards.
When I take photos on my iPhone, I usually take 4-10 captures of the one thing I want to post about and then I choose the best of choices, click the heart to favorite it, and then I go and delete all but maybe 1 variation.
If you don’t delete the extras, you’ll have a crazy amount of useless photos taking up the space on your phone.
6) Shoot in plenty of light.
The iPhone is a great camera and gives really great results in the right scenario, but you need to have a lot of light around to get the quality of images you are hoping for.
When you are inside with low light, the camera will work but the images become significantly more grainy and kind of blocky looking as the camera deals with the low light.
iPhones are made to take great photos in good light, use them for that and you’ll be super happy.
Keep reading : Check out my pick of the top photography apps on the iPhone

If you want an in depth guide on how to pose for your body – check out my good friend’s Posing Bible. It’s a great guide to posing no matter how uncomfortable you feel in front of the camera! (affiliate link)


The comments +