Instagram. It’s the creative entrepreneurs’ favorite way to marketing themselves in 2018.
But are you doing it right? I’d venture to say that most creative entrepreneurs are not.
They are messing up on the thing that matters the most on Instagram. The photos.
Instagram is a massively popular platform. So big, that I have some crazy numbers for you….
800 million
the # of people on Instagram
325 million
the # of people in the United States
500 millions
the # of people on Instagram daily
95 million
of images uploaded to Instagram daily
80%
% of people Instagramers who follow at least 1 business with
numbers like that, It’s no shock that creatives want to use Instagram to grow our businesses. There are a lot potential eyeballs to see and love our stuff right? Seems like oan bvious marketing plan.
But daily perusing 100s upon 100s of images has done something to the regular viewer…
It has turned everyone into a photo critic.
With of the sheer number of images to scroll through, aren’t you pickier about who you decide to engage with?
Don’t you skip on by those photos that look like they are just a quick snap that wasn’t thought about? Especially when it comes to a business’s account?
If the photo doesn’t catch your eye, then you skip on by. Am I right?
This is why we need to make sure the photos we are uploading look professional, even if they were taken in your living room with your iPhone.
Photos that look like snapshots just don’t cut it. So we need to stop doing that if we want people to engage with us right?
I have a secret though…
Do you know the main factor that changes a photo from looking like a snapshot to looking high quality?
It’s not the camera. (Your iPhone is a pretty spectacular camera)
It’s the lighting that matters in creating professional looking images (and not just for Instagram either!)
Good lighting makes a photo jump out of the masses and makes people stop to engage.
I know I know, you are grumbling right now and thinking “but I’m not a photographer, how am I supposed to know good lighting??” right now?
Well, you are in the right place!
Lighting doesn’t need to be complex or hard. You just need to have some tricks up your sleeve to be able to understand light and you can take your own professional looking photos for Instagram.
Every creative trying to succeed in the market today needs to have a vision of their brand, and have professional quality images that engage people with your brand to be able to get the attention that brings in the inquires.
Branding photos are lifestyle images you use for your business. [add link to branding photos page] . Creating your own branding photos is what I’m going to give some lighting tips for you today.
8 Tips on How to Take Professional Looking Branding Photos for Instagram
Tip 1 : Open all the windows and turn off all the indoor lights
Getting a base understanding of light and how it works in photos is vastly important in creating professional looking images.
The easiest way to start to understand light is to simplify it and learn one light at a time.
Each light source ie. daylight, indoor home lighting (incandescent), florescent etc light has a different color temperature. Your camera changes a setting and the colors it shows you to adjust for the color temperature of the light.
Keep it simple by giving the camera one light color to adjust to. The easiest and most flattering light is daylight. So that is where we will start
Turn off those indoor lights and open up your windows.
See how much light comes into the room you want to shoot in.
Pay attention over a couple day of when you have the brightest light in your office/living room/ shop.
Tip 2 : Shoot when the light is the brightest in the room.
Is the room brightest in the morning or in the evening?
Do you have direct light streaming in during any part of the day? Direct light streaming into the room can bring quite a bit more light in but can make it harder to photograph. So find a time where the space is as bright as possible, without direct light.
Tip 3: Position yourself in the brighter area of the room. This is usually near the window, then have the camera close to, if not in front of the window.
By positioning yourself by the window, you are using the window as your light source. This creates the most even and flat lighting available.
The farther away from the window that you move the camera, the more directional you will create the light. This creates more of a highlight and shadow on your subjects face. As you are beginning, you want to keep it simple and avoid creating too many shadows.
Tip 4: Choose a room with neutral colored walls to avoid color casts.
Light acts like a ping pong ball. It comes into a room and bounces off surfaces filling that room with light. The lighter the surface, the more light that bounces. Light picks up the colors of the surfaces it bounces off of.
So, when you open up the windows and bring in all the light, it’s best to be in a room with white or neutral color walls. When light comes in from the windows, it hits the walls of the room, and the white walls will reflect back the light to help add more light to the room. This makes the room brighter and giving that light and airy feel.
If you have dark walls, the walls will absorb the light and make for more contrast between light and shadow. This adds contrast to your image, which is harder to work with when you are beginning. And colored walls create color casts especially in the shadows that can make a photo look low quality. Let’s avoid that and stick to white and neutral colored walls!
Tip 5: Don’t always look at the camera.
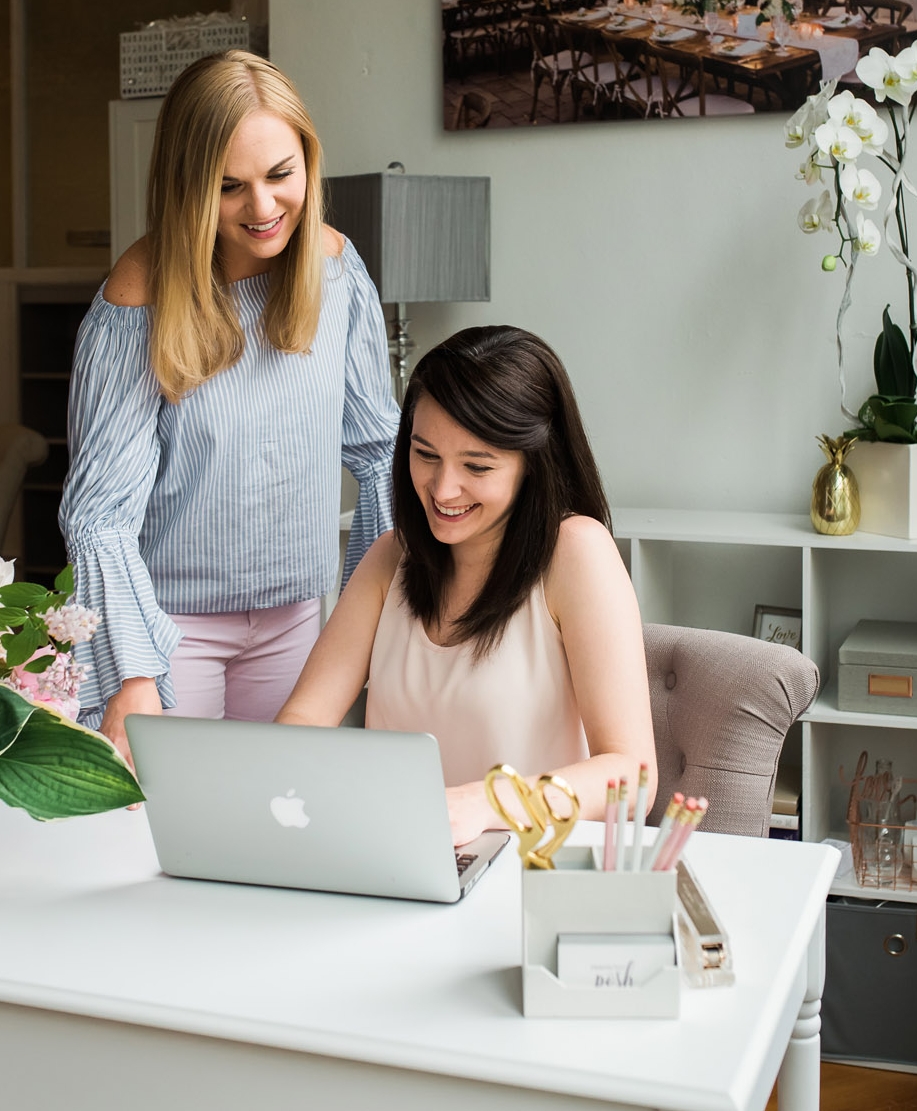
The trick to great lifestyle photos is that the viewer feels that they are getting a glimpse into your life as it is. That feeling goes away when you are staring at the camera, or being “camera aware”.
People like to feel like they are having a glimpse that is more candid, even if it truly is staged. So take pictures of you doing something. Whether that is working on your laptop, or caligraiphying an envelope (pretty sure I just made that word up, but let’s go with it:)
If there are multiple people, have them interact with each other while smiling a bit.
You do want some camera aware images for your About Me page and profile photos, but aim to get images that are relaxed and candid looking for a wider use.
Tip 6: Shoot wide, mid and close up images for variety.
If you have an idea, shoot it far away, then get a little closer for a photo , then super close up for details.
The far away image (your entire office for example) sets the scene. The mid image shows you at your desk working on the computer. The close up detail shows your notes next to your hand while typing.
You’d be surprised at how many types of images you can get in one setting if you look for details
Think about the things you use everyday, and how they may be interesting to your audience.
Tip 7: Always think about where you will use the images.
Are you planning on only posting to IG, so square photos are fine?
Or will you be creating blog posts, so you’ll want a Pinterest graphic? If so, you should have vertical options as well.
FB ads? You’ll need a horizontal image for that.
Youtube? You’ll need a horizontal image there too!
Write down the images you are creating and the possible places you’ll use the images before you start the shoot.
Note what format will be needed for the different location you’ll be using the photo.
Then make sure you shoot each idea in the different ways that you’ll find yourself needing that image!
Tip 8: Give yourself ample time and shoot a ton.
I’m not gonna lie; taking photos of yourself and having them turn out in a way that you will like takes a lot of trial and error.
The best option is to use a tripod and a remote. I have this awesome selfie stick/tripod/remote combo from amazon Selfie Stick Tripod that works perfectly. *affiliate link
If you want the best quality of photo, avoid using the selfie camera. You can see the reasons why here : Why I Try to Avoid the Selfie Camera for Business Photos
The quality of your image will look professional if you use the main camera on your iPhone. It will not if you use the selfie camera.
Using the main camera on your iPhone does make shooting is a little trickier. You have to guess how you look while shooting but the quality makes it worth it, promise.
Use the bluetooth remote to trigger the camera so you don’t have to get up with the timer over and over again. Shoot, change expressions, position etc and shoot again.
Sit up straight. Fix your hair. Suck in your tummy (cuz we all feel better when we look skinnier). Lift your chin a little and shoot shoot shoot.
I used to work in the studio of a national high end department store. We photographed the models wearing the clothes for people to buy online. The model would sit in hair and make up for 90 minutes in the morning, and then we’d start to shoot. The goals was for 1 final image that looked good per outfit. Maybe two if the back had some interesting design that people would need. The goal of the images are to make people want to own that sweater and look like that model does. On average, per clothing change, we took 40-70 images. 70 images to create 1 perfect one with a professional model and a professional photographer coaching her on how to look!
Why’d I tell you this? Because I want you to give yourself some grace if you have to shoot a ton to get images you are happy with.
*expert tip* Save yourself the headache down the road and make sure you edit and delete the photos you didn’t love. Also, hair and make up are worth the expense to help elevate your brand.
If you find that shooting yourself is too hard (because it’s hard for sure!!) then there are other options:
The ideal option is to hire a branding photographer to collaborate with. This way you get a full gallery of professional beautiful images to use again and again.
Is it an investment? Yes. But one that will elevate your brand and make your biz stand out.
So, it’s an investment worth making. You can see what professional branding photos look like here.
If you are not yet able to invest in a branding photographer, then my suggestion is to connect with your business bestie and swap photoshoots.
Collaborate with a friend. Have them shoot all the photos you want with you in them, and have them shoot a ton, then edit it yourself. Then swap and shoot theirs.
Take these tips and run with them, and you’ll start to understand how to take professional photos for Instagram yourself!
To recap on how to take professional photos for Instagram:
Tip 1: Open all the windows and turn off the indoor lights
Tip 2: : Shoot when the light is the brightest in the room.
Tip 3: Position yourself in the brightest area of the room ( near the window). Then have the camera close to, if not in front of the window to keep the light nice and even.
Tip 4: Choose a room with neutral colored walls to avoid weird color casts.
Tip 5: Don’t always look at the camera. Get “candid” shots as well.
Tip 6: Shoot wide, mid and close up images for variety.
Tip 7: Always think about where you will using the images.
Tip 8: Give yourself ample time and shoot a ton.

The comments +